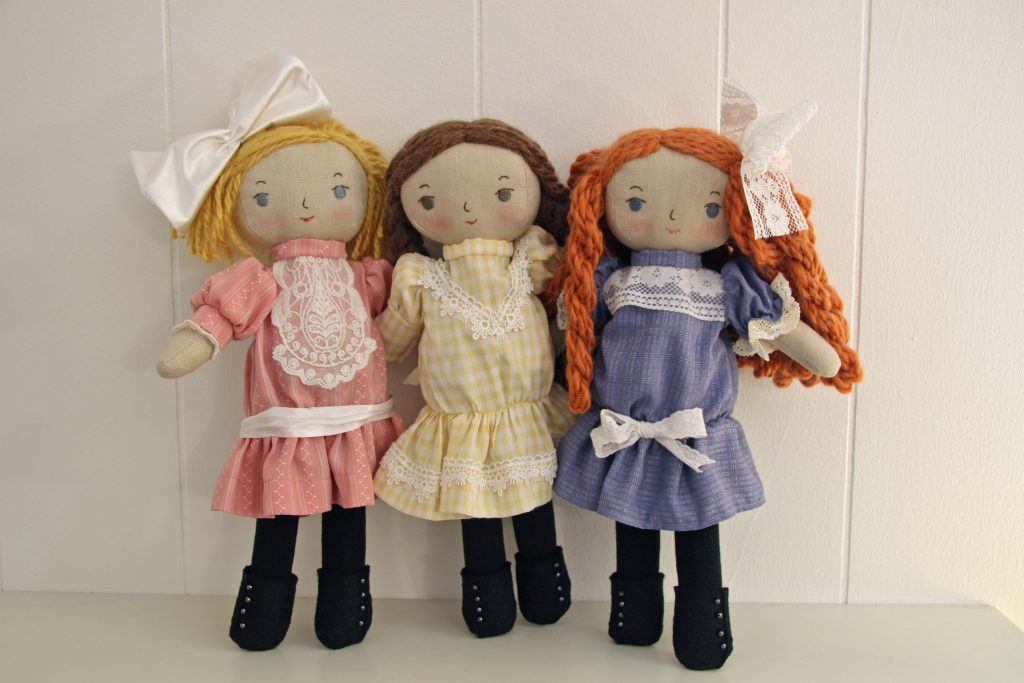
This set of Betsy, Tacy & Tib dolls are dressed up for a party and I just love how they turned out. I spend an unreasonable amount of time trying to find historically accurate fabric for doll dresses. There are so many challenges to find the right fit. As far as fabric stores I can drive to my only choices are Joanns and a quilt shop. But really most current offerings do not fit the bill in content or design and if they do, they’re of course the wrong scale because they’re not for tiny doll clothes. So I have the most luck at the thrift store. For these dresses I got lucky in the mens department. Tacy’s blue dress is silk and the textured plaid fabric seems like something you’d see on a dress in 1905. Same with Tib’s pink dress, it is from a men’s silk shirt and has a great textured stripe design that also feels turn of the century to me. Betsy’s dress is sheer and textured and really felt to me like it could pass for a dimity dress. Dimity is “a hard-wearing, sheer cotton fabric woven with raised stripes or checks”. This fabric was a handmade skirt I found at the thrift store. I’ve also had some luck in the scarf section when looking for sheer fabrics, like the one I found for my Elizabeth Bennet doll.
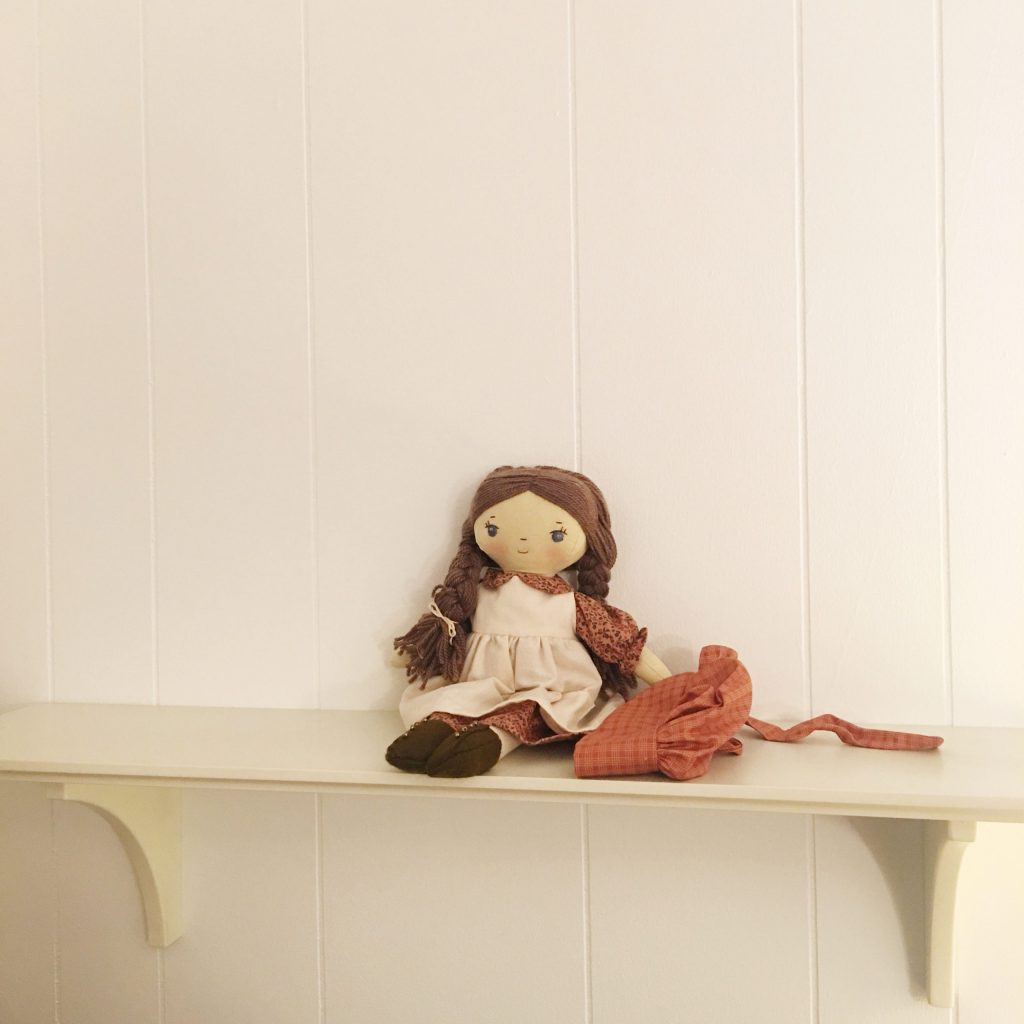
Anne of Green Gables doll
I love making dolls from my favorite books. I’ve made a few Anne dolls over the years but this one is my favorite. I just think she’s so cute and spunky looking!
I made her outfit to be the first nicer, still plain, dress that Marilla made her instead of her straight from the orphanage togs. She has a crisp new pinafore and nice sensible dark blue dress with pintucks and not too much puff in her sleeves.
I couldn’t find exactly the right hat so I tried to make my own. I purchased hat straw and pinned and sewed and spun and nope, no luck. So I took a straw hat I had and tea dyed it to get it closer to the color I wanted and reshaped it while it was soaking and I really like how it turned out. The brim is a little too wide but it looks very cute on her so it’s a win.
childrens book collection
This summer was all about stuff/possessions/things for us. We are moving my mom out of her house, moving the previous owner of our house, Dick’s stuff finally out of the back corners of our basement, moving in stuff from my parents’ house to ours, moving my kids’ outgrown things out of their rooms, moving old work from my craft room. What is important, whats matters, what do we want to leave behind, what is just baggage, not useful, not meaningful. I definitely have decision fatigue from it all. One thing that was in question was our childrens book collection. We have a random built in shelf in our family room that naturally became the home for picture books when we moved in here 11 years ago. Tim and I realized we shared a love for a used book fair and vintage childrens book illustration and then we had kids so it was a perfect storm of booklove that led to many hauls, like this one.
After spending an exhausting week this summer tearing out the last of the built-in fun in the basement we were on a roll and Tim suggested tearing out the kids book shelf as well. I stood up for it though and I think after a slew of tough decisions I’m going to give myself a treat and officially take up book collecting again. I’d love to be on the hunt again. Do actual research for what I’m looking for, try to complete sets, find missing works, etc. My estate sale is going to rock. What would be more fun than a giant childrens book sale.
First I’m going to organize and take stock. I’ve been good about weeding all these years. Being tough love and taking out impulse buys, books we bought because it was only book at the sale that was remotely vintage but is really not that great or the book I recognized from my childhood but I’m not really all that interested now it turns out. All those moved along to new homes and kept the collection under control and contained in this one bookshelf. This weekend I’m going to tackle that book shelf with some sweet library organization energy and see what we’re working with. Doesn’t that sound like a fun project? I’m excited to start!
new craft room!
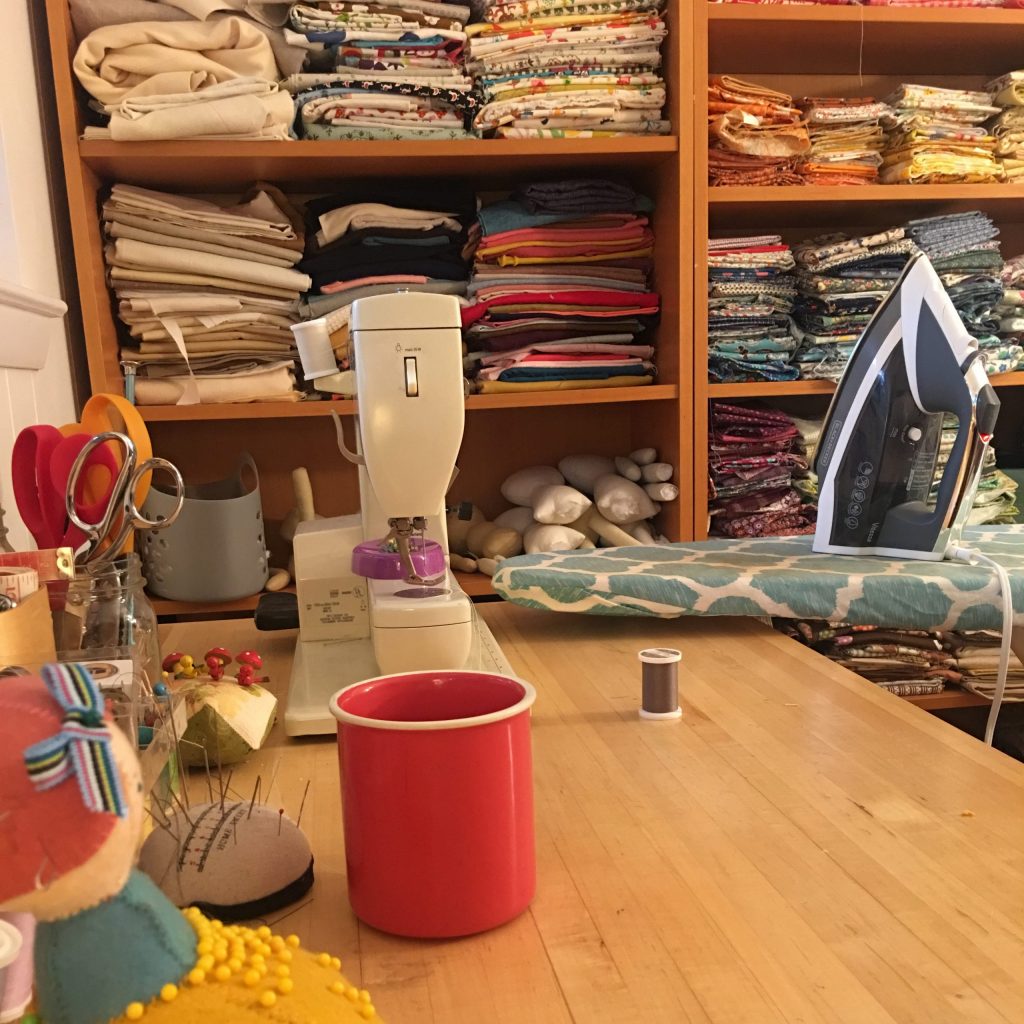
I’m all settled in to my new craft room and I think I love it. We had a big room switcheroo and Phoebe moved into our room, we moved into craft room and craft room moved into Phoebe’s old room. So Phoebe gets more space, we get way more bedroom space and craft room gets cut in half. All good things! The perks of having a smaller craft room are sort of the same as a smaller kitchen, just less walking back and forth to things. I have it set up now so I can reach fabric shelves from my sewing table which I really like. Everything seems more accessible. And I am forced to keep it tidy and not let piles get out of control. My old craft room was a master bedroom in an addition on our ranch house. We didn’t choose to use it as our bedroom when we moved in here because kids were babies and we wanted to be right by them. So my craft room was kind of always ridiculously big. Now I feel cozy and contained. Also makes me feel less guilty. Because what is being a mom without some guilt thrown into every decision. Other pros: afternoon sun, faces front of house and front door, next to kids rooms so I feel like I’m hanging with them even when they’re in their rooms doing their own thing. Cons: dark in the morning, can’t fit a yoga mat in here anymore. That’s it so far! Pretty good list.
One I get my shelves all styled and gorgeous (ha) I’ll share some photos. I was torn what to do with all my stuff. Is it more inspiring in a workspace to have a hundred little doll faces smiling at you, vintage toys, knick knacks, etc or to have everything locked away and just go zen. I left one little spot of wall blank with an empty shelf. Somewhere for the eye to rest. A place to put my current project. Just a smidge of zen.
Make-Along Romper Pattern & Tutorial
This romper pattern delivers a lot of cute for not so much effort. (Another easy go-to pattern to get your doll dressed in a hurry is the Apron dress pattern) This romper has elastic cuffs and waist, an opening in the back for a tail and a bodice with sleeves easily made from a woven ribbon. The materials you’ll need are 20″ x 8″ of fabric, 10″ of 1/8″ wide elastic, 11″ of ribbon (ribbon should be between 1/2″ and 1″ wide). Print out your pattern piece here and we’re ready to get started.
Step 1: Cut 2 on fold of Romper pattern piece A. Press under 1/2″ along straight cuff edges and sew at 1/4″ to create casing for the elastic. Thread through elastic and secure one end by sewing across the casing, catching the elastic in place. Pull elastic taut so that the leg gathers as much as you’d like it around your doll’s leg and then sew elastic in place. Repeat with other piece.
Step 2: With right sides together sew romper pieces at center seams, with one seam sewn up completely and the other from the bottom to the dot. This will be the back and we’re stopping early to leave room for our bunny, kitty, deer tails. If you’re making for a doll you can sew all the way up. Press seams open.
Step 3: With right sides together sew romper front and back together along under leg seam. Clip curves. Press under and sew a casing along top edge same as you did for cuffs. If you’ve sewn back all the way up for a doll: Leave a 1/2″ gap in casing to thread elastic through. Thread elastic through, pull taut, cut off and sew edges together. Sew gap closed. If you’ve left back open for a tail just thread elastic through as you did for the cuffs. And then for finishing, topstitch the pressed open seams along back opening.
Now you’ll have your romper bottom ready for its ribbon bodice. The romper should fit your doll with the top elastic edge around the doll’s chest.
Step 4: Mark the center piece of your 11″ ribbon with a pin. Then mark a 2-1/2″ wide center section using center pin as guide and at each end of the center section fold under the ribbon as shown to angle up the ends of ribbon to create the sleeves. With matching color thread hand sew the folds in place.
Step 5: Place your romper on your doll. Pin your bodice center front to the top edge of your romper, centering in front. Bring the ribbon sleeves over the arms and pin to the back edges of the romper. Being careful of the pins remove romper and hand sew in place where you’ve pinned the ribbon. Sew a snap to back closure and you’re all set!
Free Pattern: Hooded Cape Pattern & Tutorial
This hooded cape is full lined and fits most Wee Wonderfuls dolls, Make-Along Dolls, Make-Along Animals, Kit, Chloe and Louise and would fit but be a little roomy on the new smaller Elsa doll. The pattern pieces can be downloaded here, Hooded Cape Pattern
Step 1: Cut the pieces out of the cape fabric and the lining fabric. My lining is faux shearling and the cape is wool tweed.
Step 2: With right sides together, sew the hood pieces together along back and top edges. Sew the cape pieces together along one straight side. Repeat with lining pieces.
Step 3: With right sides together, pin the hood to the cape along neck edge and sew in place. Repeat with lining.
Step 4: Now you have the two pieces, cape and lining, completed. Time to merge them.
Step 5: With right sides together, insert the lining cape into the outer cape.
Step 6: Pin together lining up seams. Now sew together around the outside edges, leaving a 3″ gap open so you can turn the cape right side out. Then hand stitch the gap closed after turning.
Step 7: Snuggle up!
Elf gear for your Make-Along doll
Is your Make-Along doll feeling mischevious this season? Use this free pattern to make her own jaunty elf hat complete with ears! Also included, a pointy collar and boots to complete the transformation.
Use fleece or felted wool to make accessories that don’t need finishing and have a little stretch to them so they’ll fit easily.