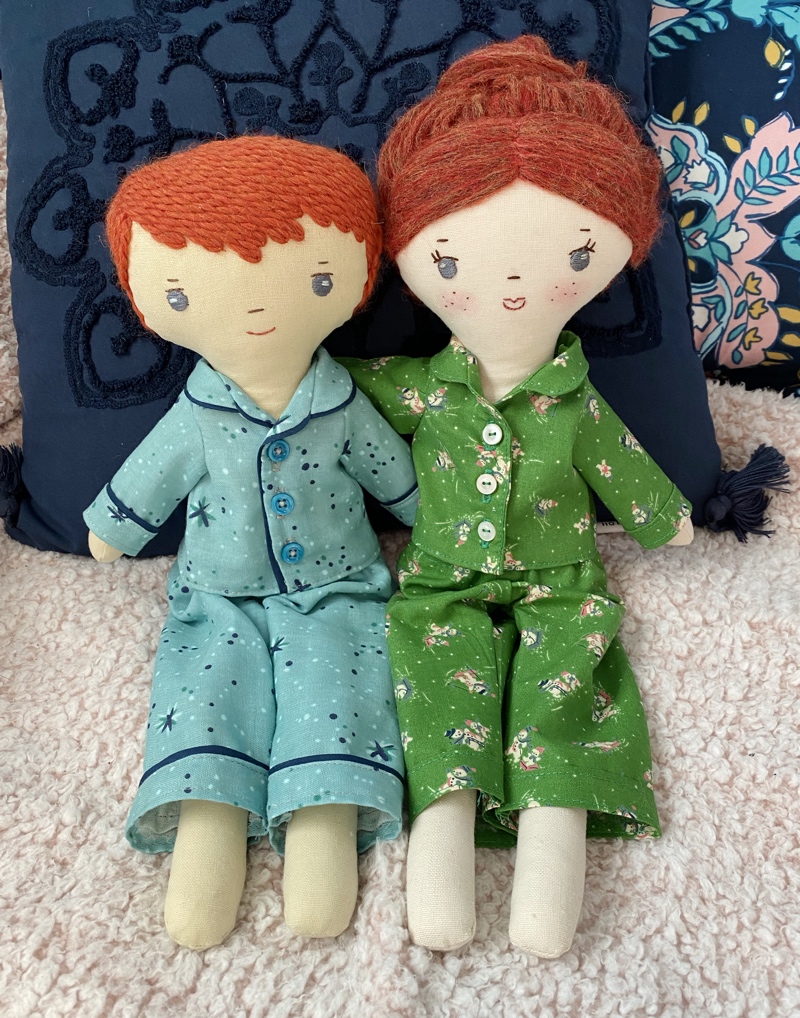
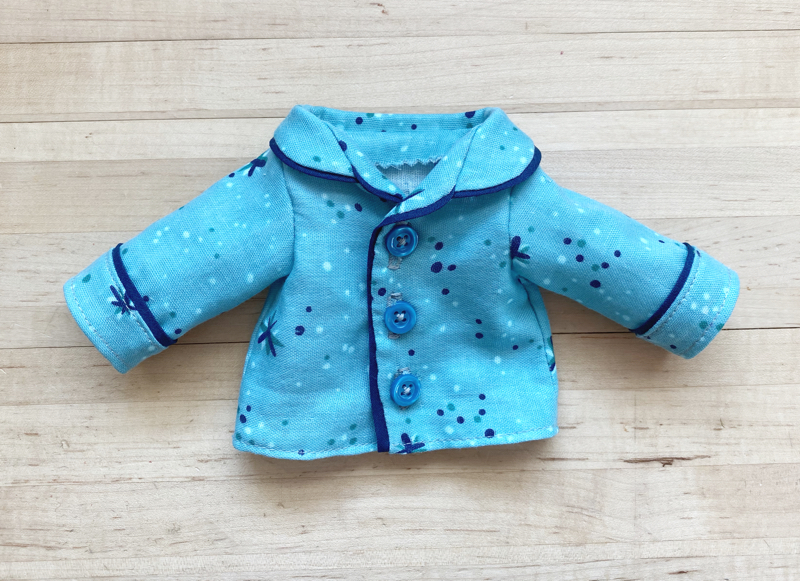
It’s that time of year when getting cozy in a pair of festive pajamas is a top priority. These pajamas are worth the extra effort to get them just right. They would make a perfect holiday present for your Make-Along doll. Made with or without piping they turn out super cute.
Download the pattern pieces here and follow along below for instructions. You will need 26″ x 20″ of cotton fabric, 9″ of 1/8″ elastic, three 3/8″ buttons and either snaps or velcro closures if you don’t want to make buttonholes and an optional 45″ of 1/4″ binding tape to use as piping. If you can find tiny piping that will work too but general piping for adult clothing is too big for these little pjs. Seam allowances are 1/4″ unless noted. Cutting instructions are on the pattern pieces.
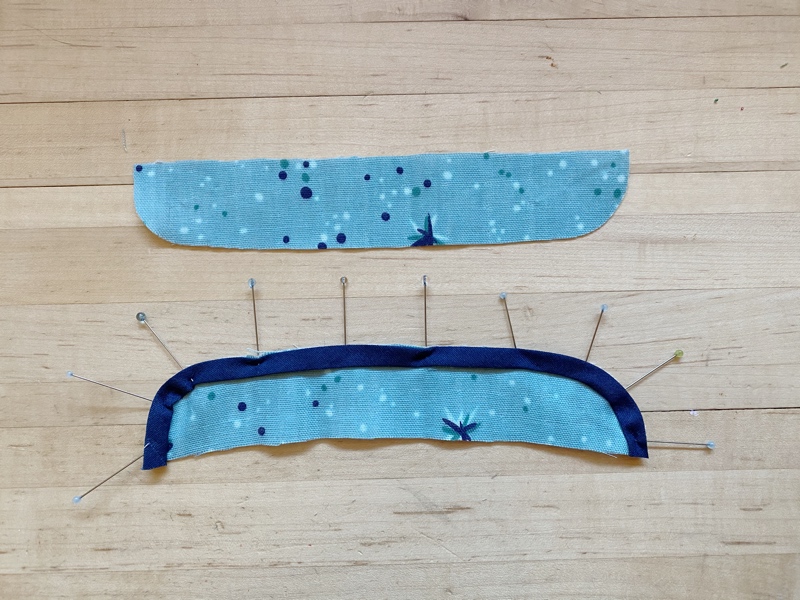
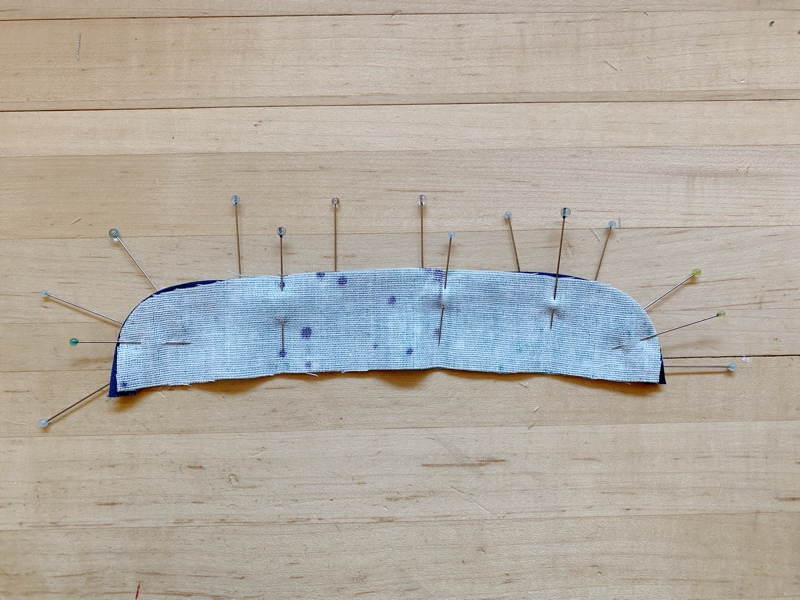
First, make the collar. With right sides together sew the two Collar (D) pieces around outer curved edge. If you want piping, pin it to one piece with outer edges matched up. Then pin your other collar piece on top and sew at 1/8″ from edge which will leave half of your 1/4″ wide binding tape showing as piping. Be sure the folded, not open, side of your binding is facing inward when you pin it so that it will side showing when you turn right side out. Turn collar right side out and press flat.
With right sides together, sew the Facing Back (F) to the Facing Front (G) pieces at the shoulders. Press seams open and pink inside edges of the facing.
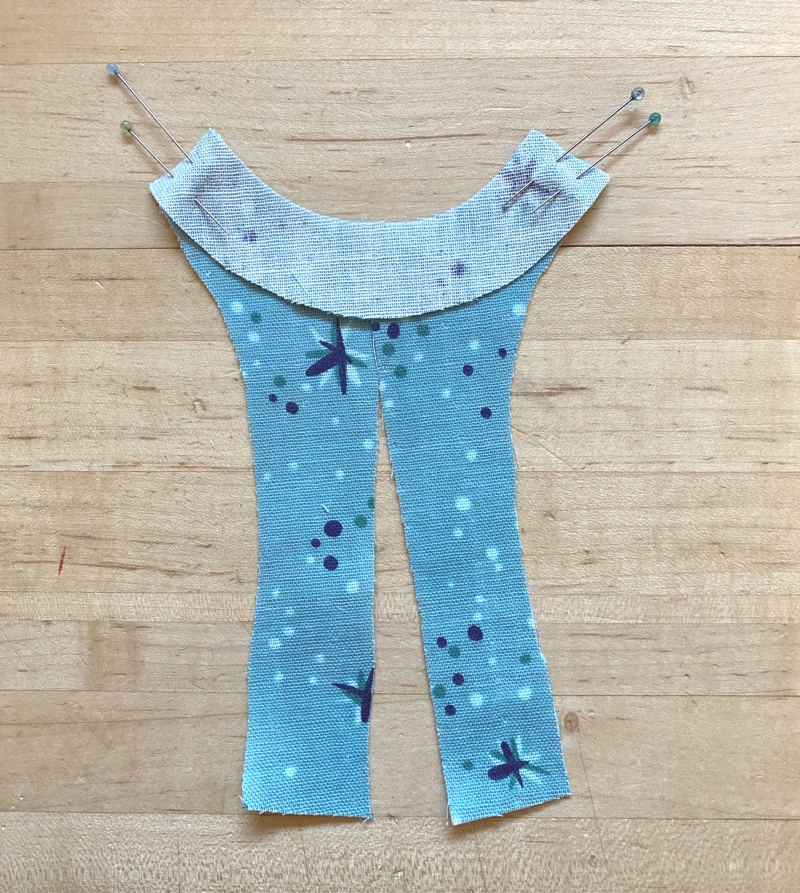
With right sides together Sew the Top Back (B) to the Top Front (A) pieces at the shoulders. Press seams open.
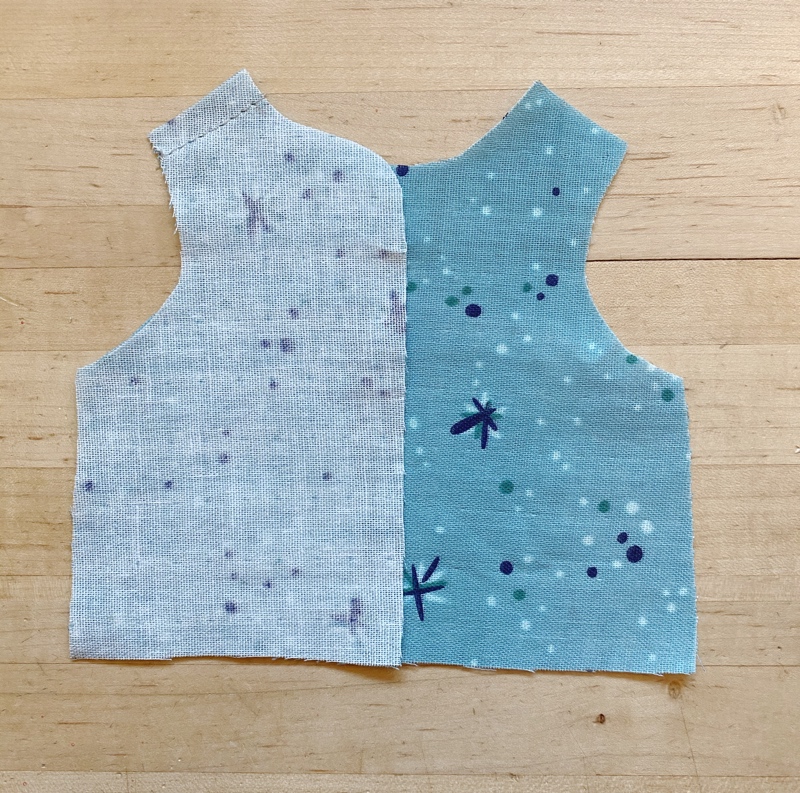
Pin the collar to the neck edge of the Pajama Top lining up the centers.
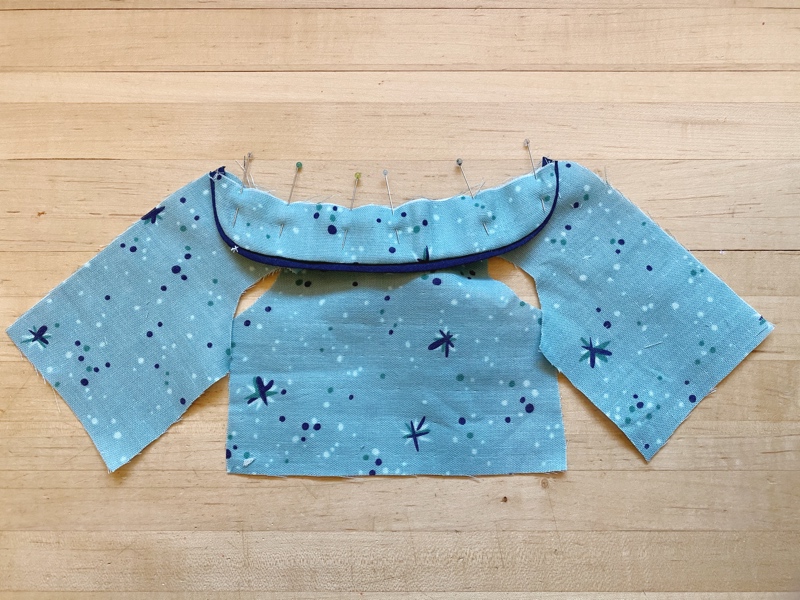
If you are doing the version with piping here is where you add it to the front edges. Pin two pieces in place along the Pajama Fronts lining up the edges. Clip the binding tape pieces just as they overlaps the Collar.
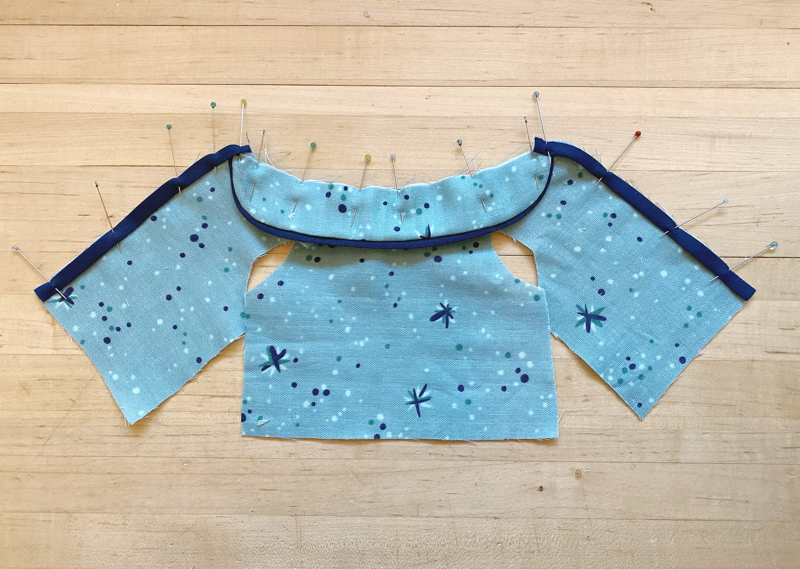
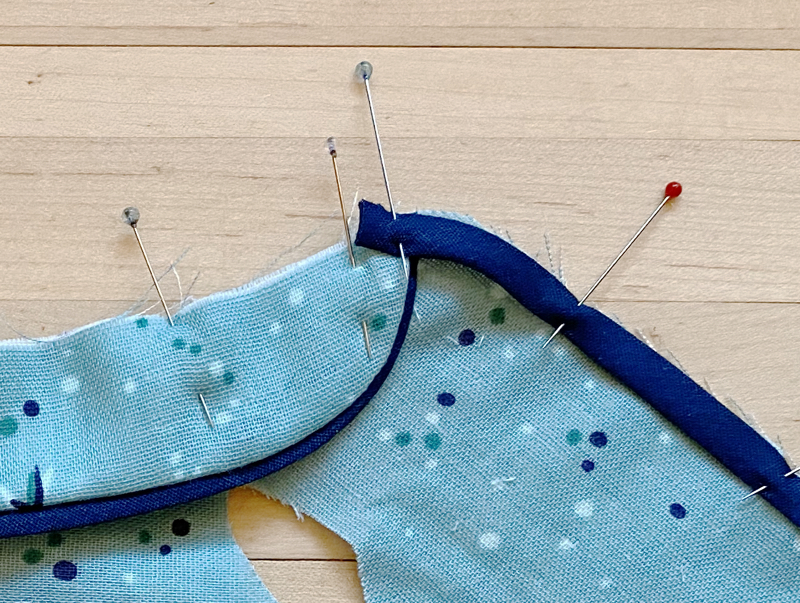
Pin Facing to Pajama Top with right sides together, lining up edges and shoulder seams. Sew Facing to Top, if you are not doing piping use a 1/4″ seam allowance. If you are doing piping you’ll want a 1/8″ seam allowance along sides where the binding is and then you can go to a 1/4″ seam allowance along the collar edge. Turn facing to inside and press flat.

Make the cuffs on the Pant (E) legs and Sleeves (C) as follows. First press under 1/4″ to the wrong side and top stitch at 1/8″.
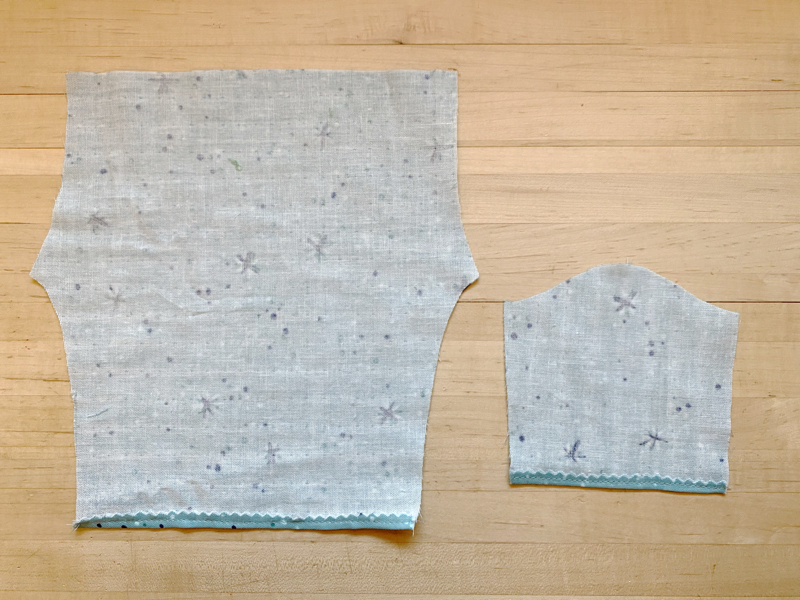
Next, press under 6/8″ to wrong side to make the cuff and then flip your piece over and fold up 1/8″ tucking the binding tape. inside the fold with 1/8″ showing. Topstitch along the edge of the cuff catching the binding tape in the stitches. If you’re not doing piping just top stitch along the folded edge. Repeat for all cuffs.
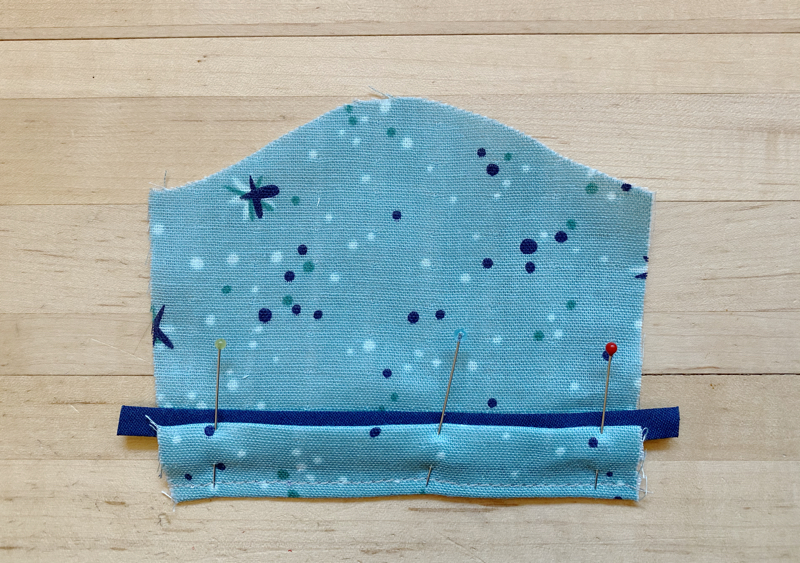
Pin the Sleeves (C) into the Pajama Top with with right sides together. Sew in place and clip or pink seam allowances. Press seams toward sleeve.
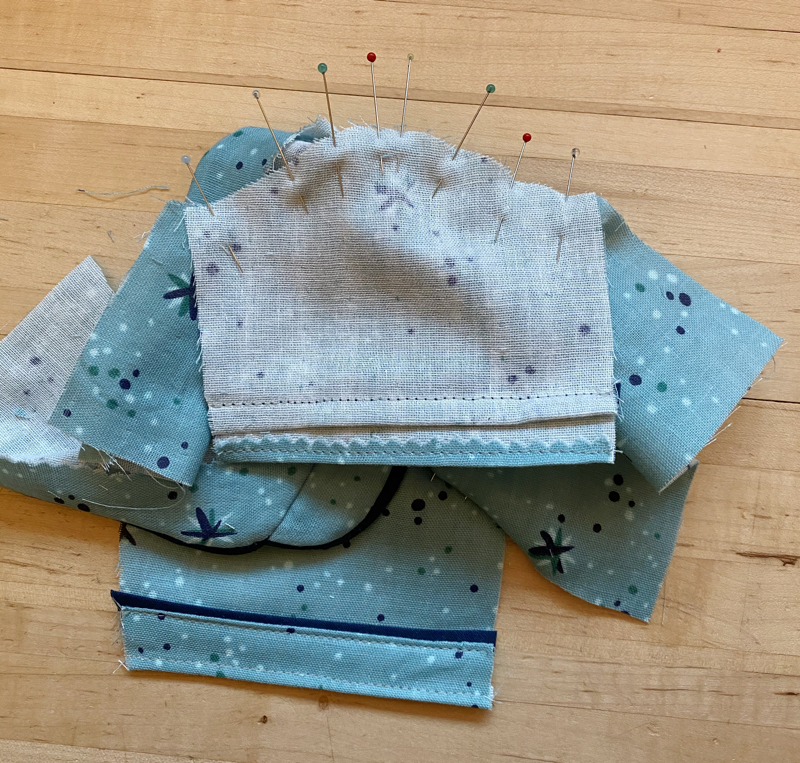
With right sides together, sew Pajama Top front and back together along underarm and side seams. Clip or pink seam allowances and press open.
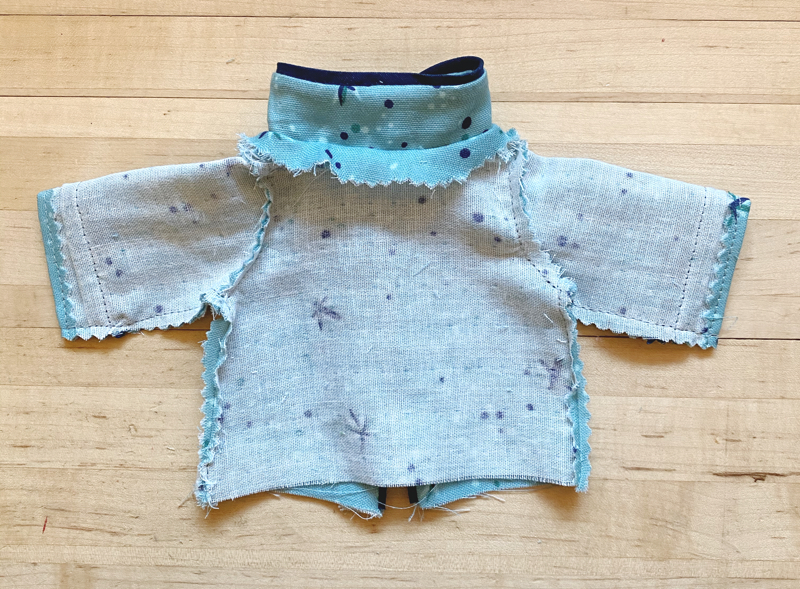
To finish Pajama Top press under 1/2″ along bottom and topstitch at 1/4″. Sew 3 buttons to the front and either make button holes or sew snaps or velcro closures inside.
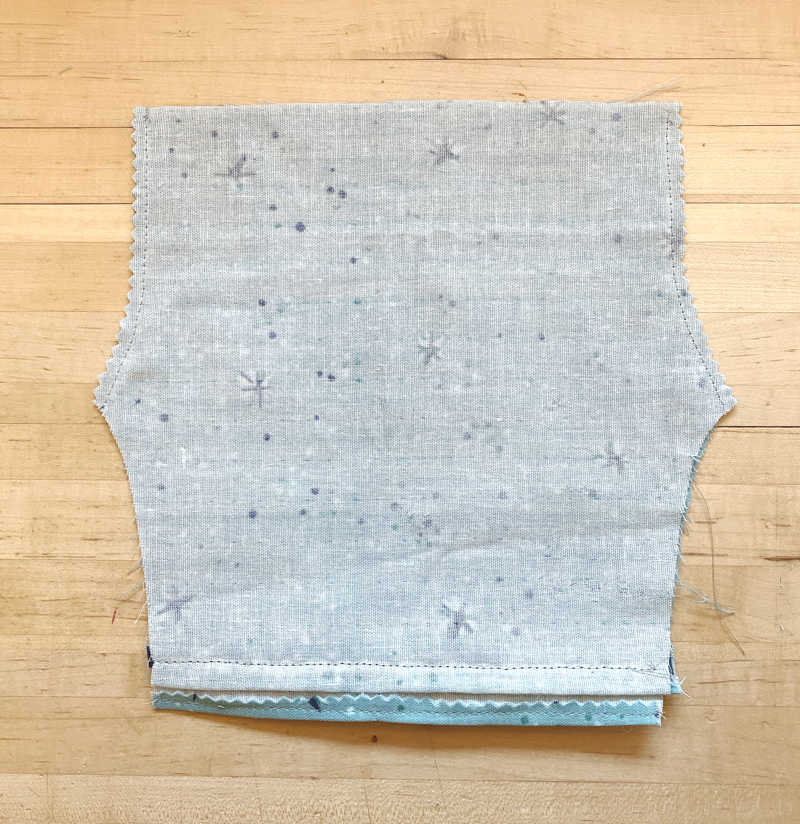
To finish the Pajama Pants, with right sides together sew Pants (E) pieces together along front and back center seams as shown. Press seams open.
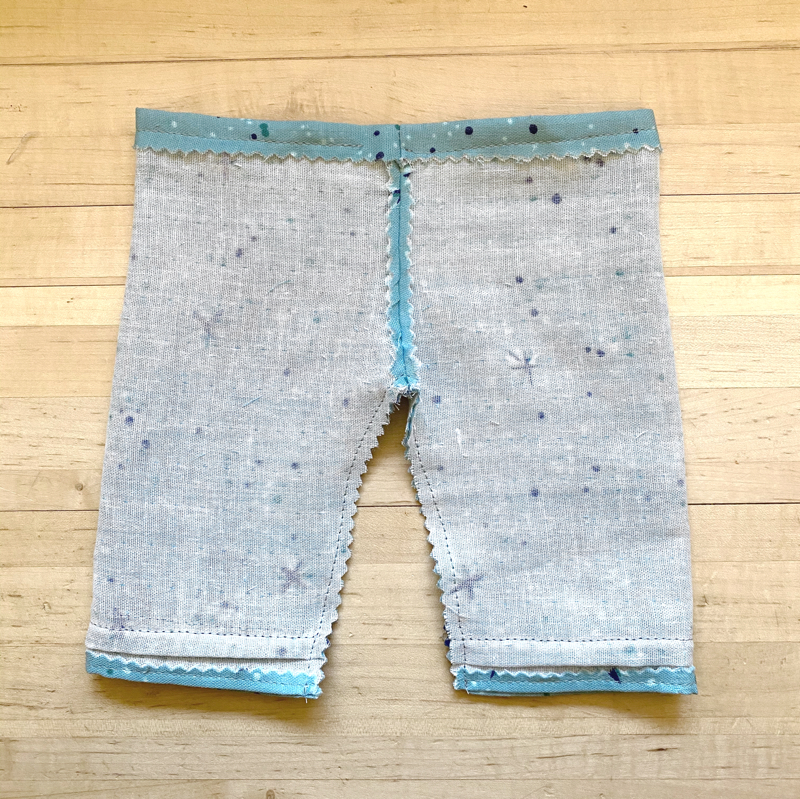
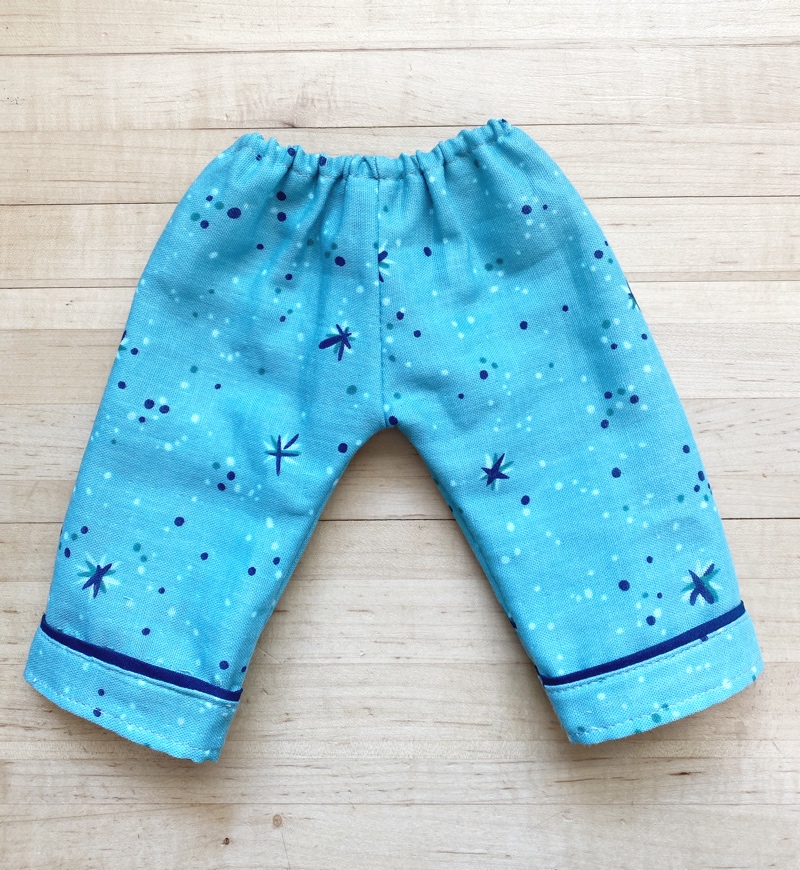
Next, with right sides together sew pants together along under leg seam as shown. Then make the elastic casing around waist by pressing under 1/2″ and sewing at 1/4″ leaving a 1″ gap for the elastic. Thread elastic through casing, pull as taught as you’d like and clip ends and sew them together. Then sew up the gap and turn right side out.

These pajamas are so adorable! Thanks for your generosity in offering this free pattern! Will these fit the Kit, Chloe, and Louise dolls?