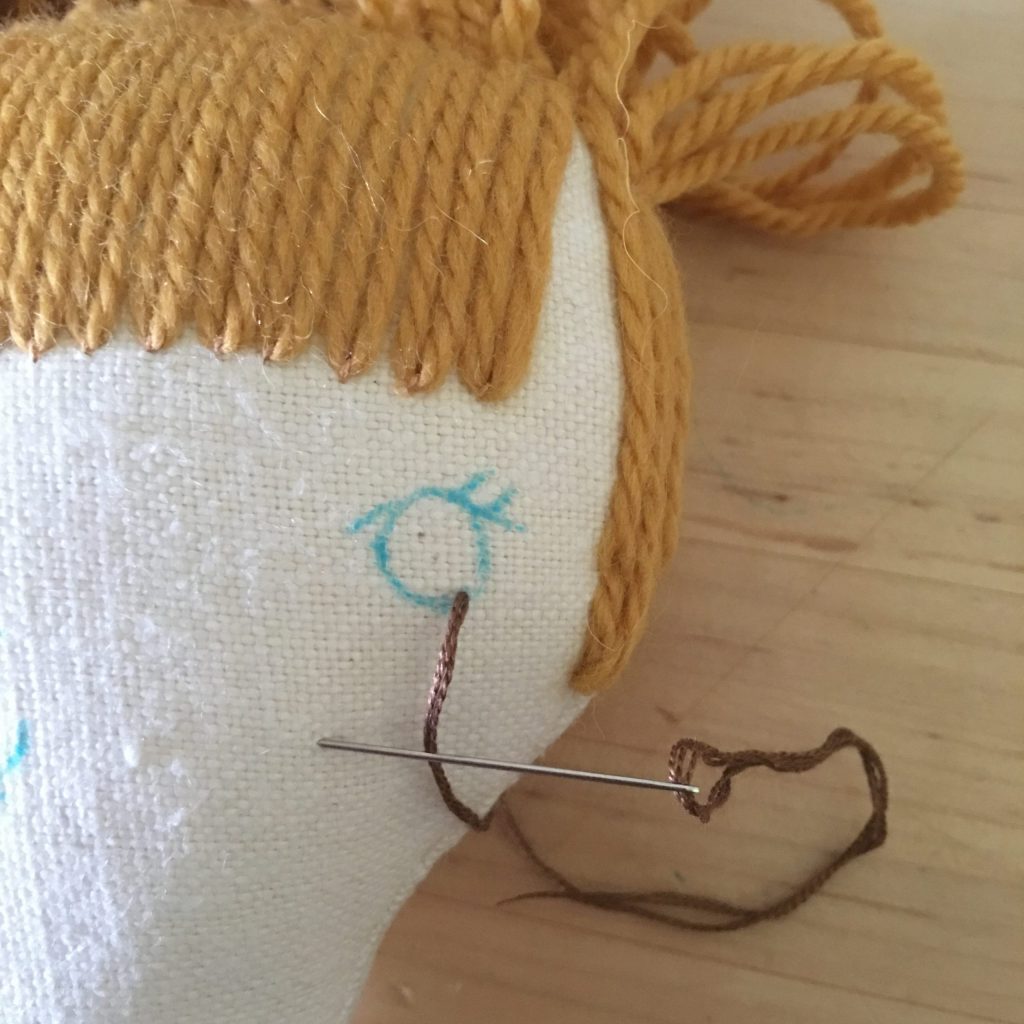
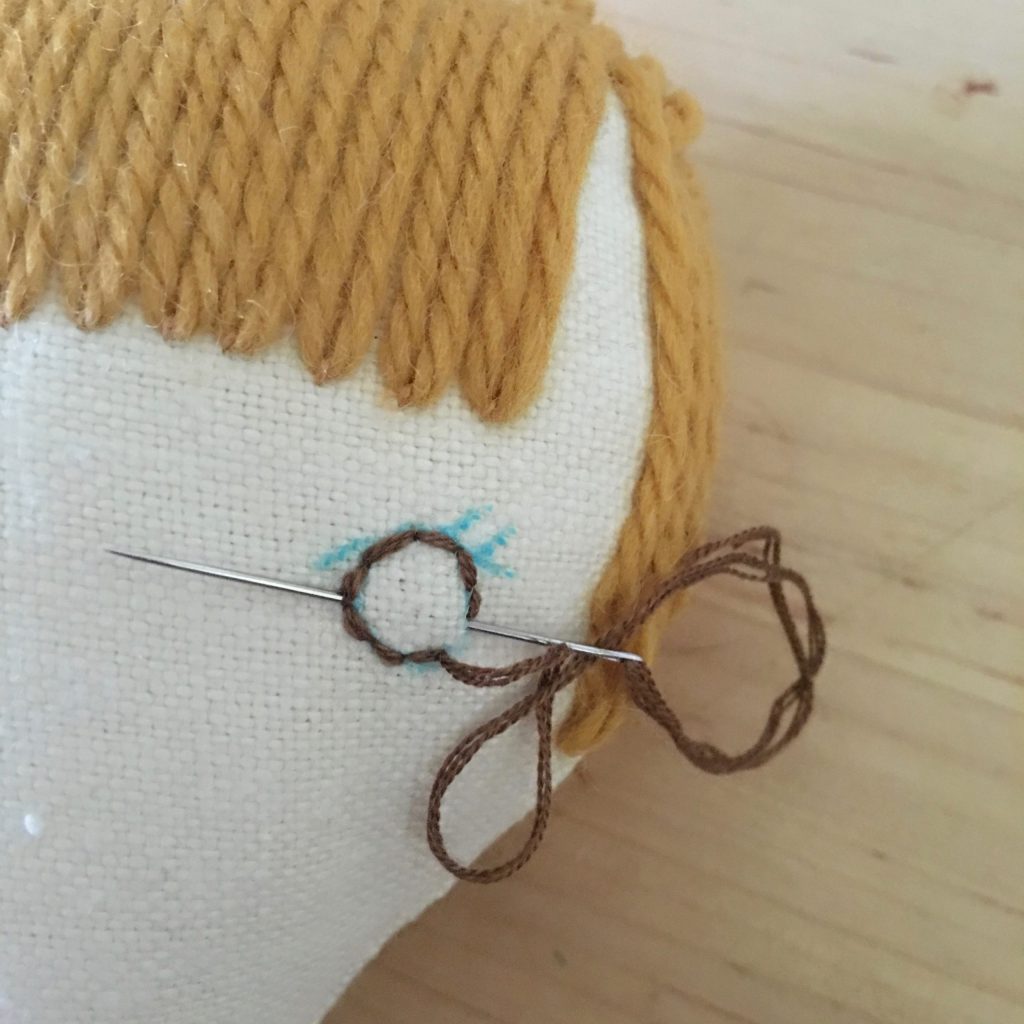
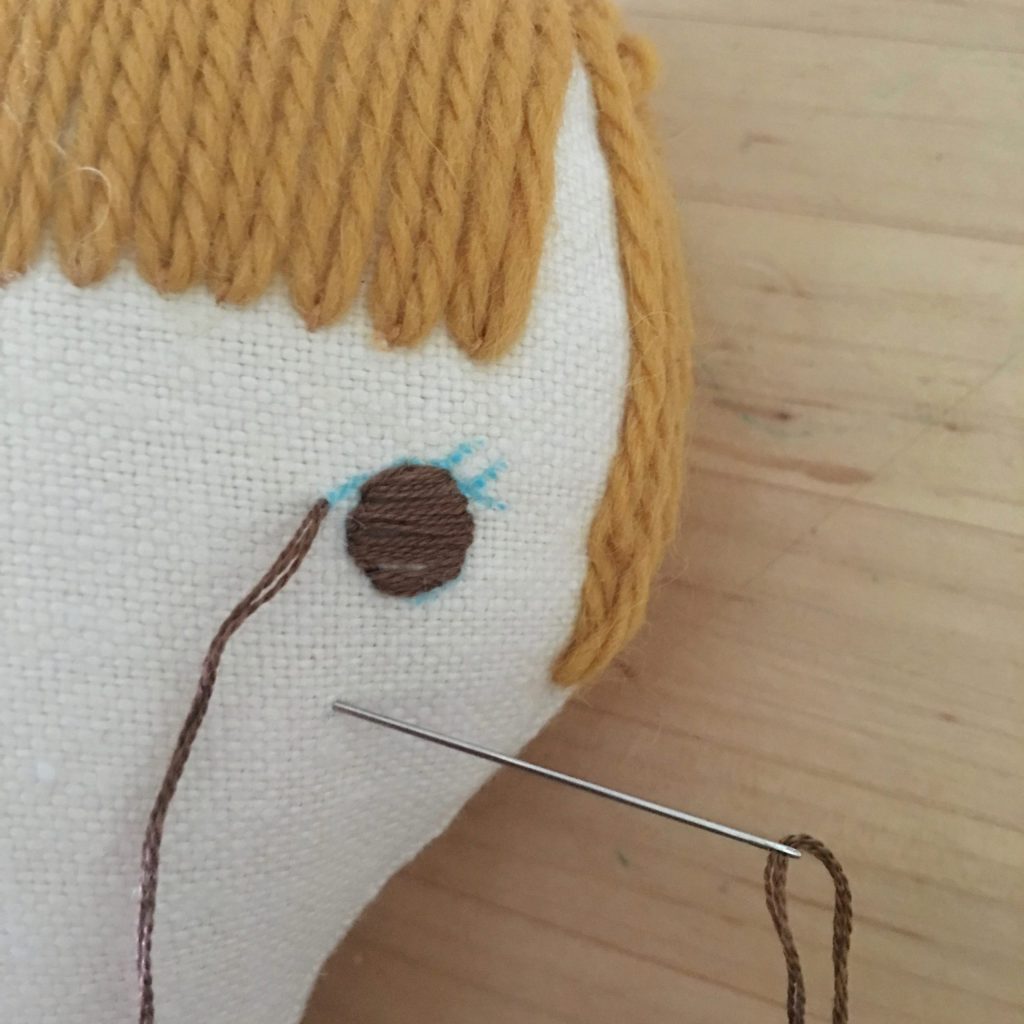
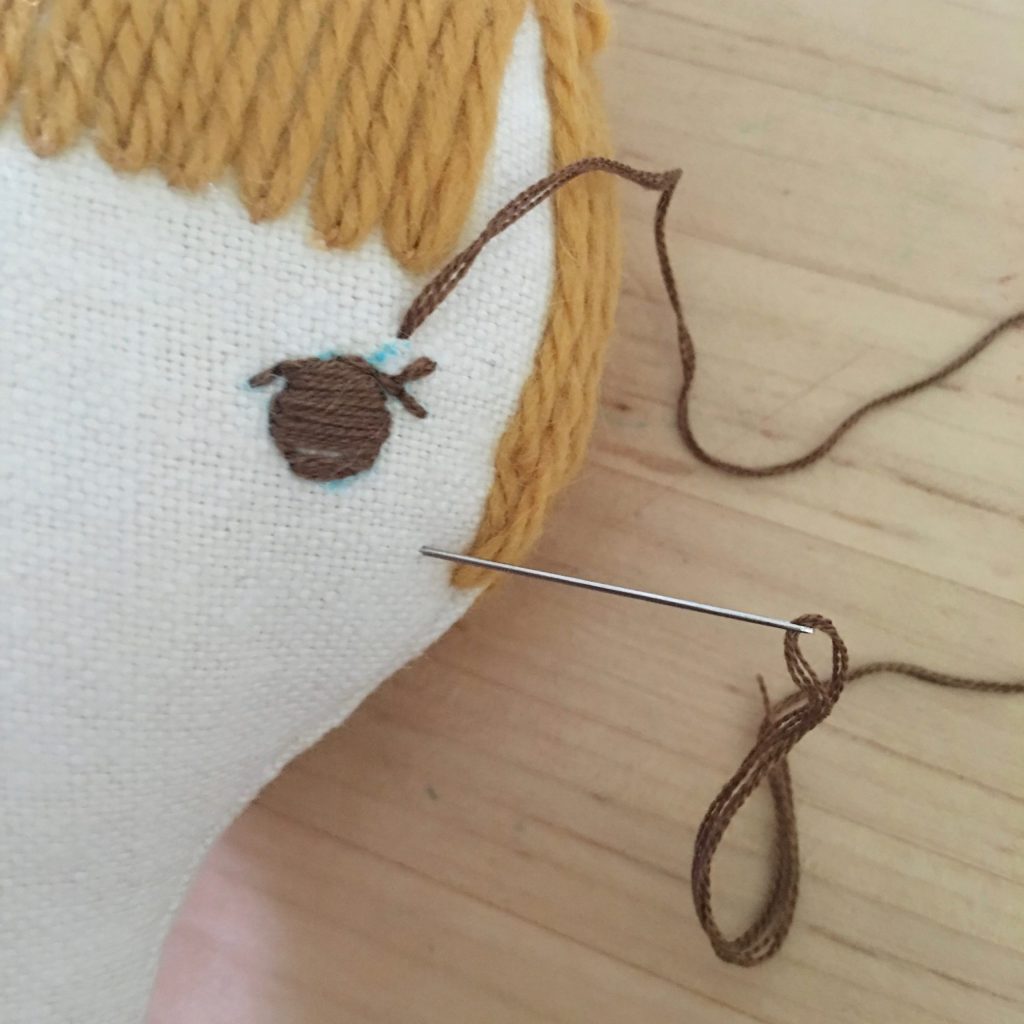
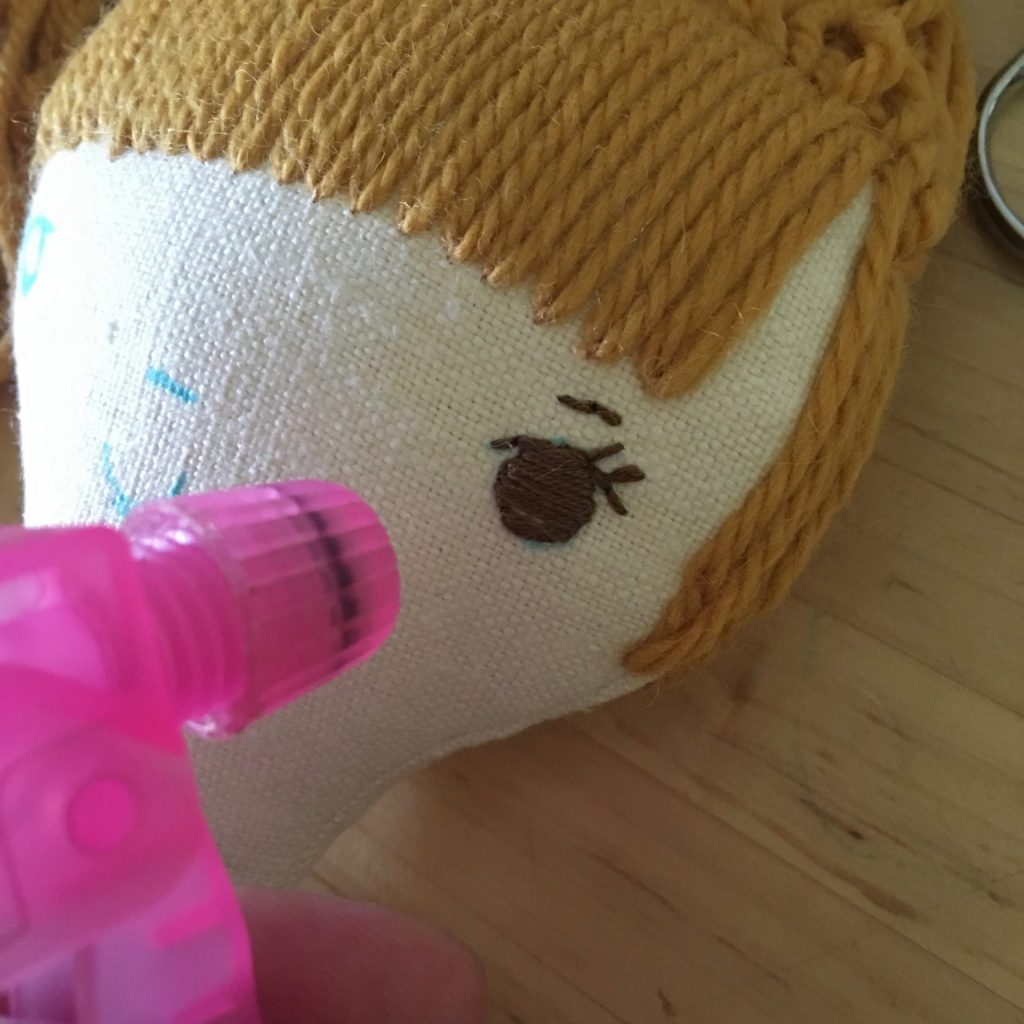
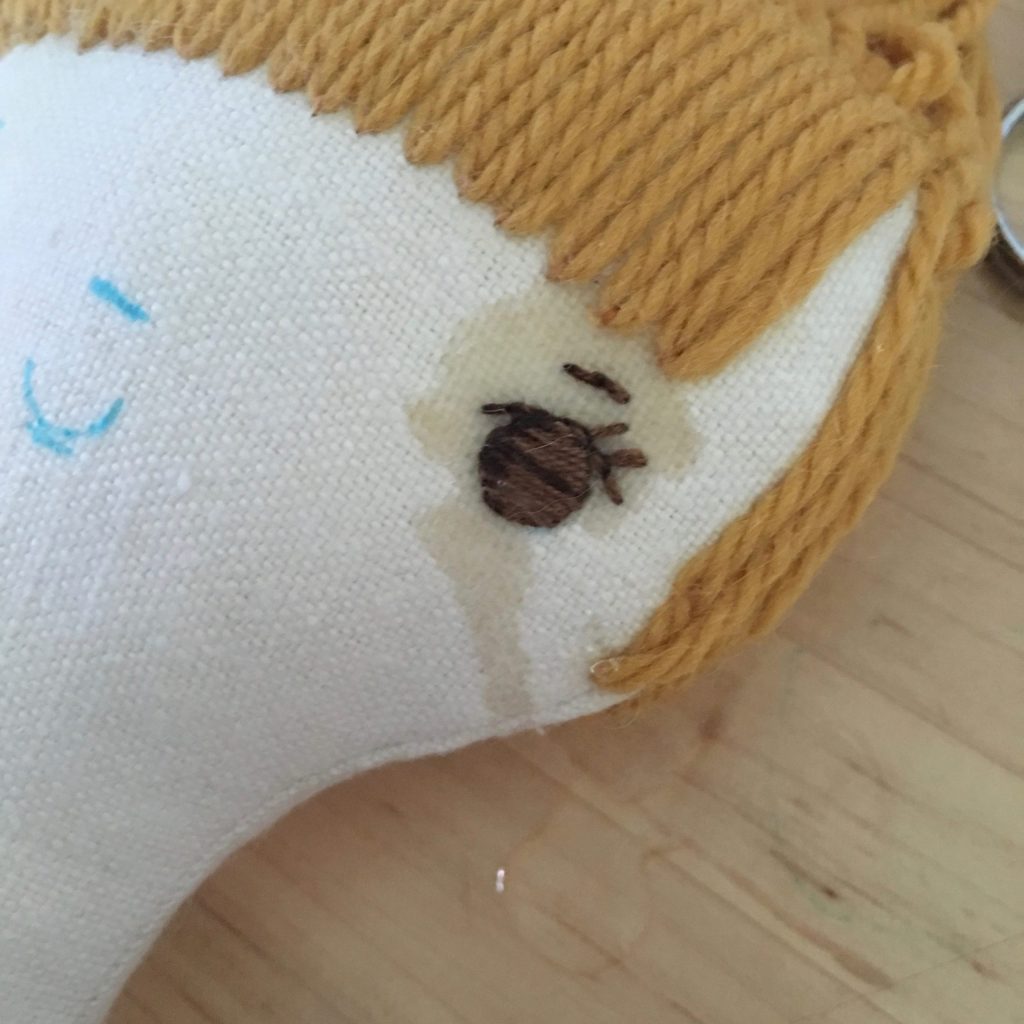
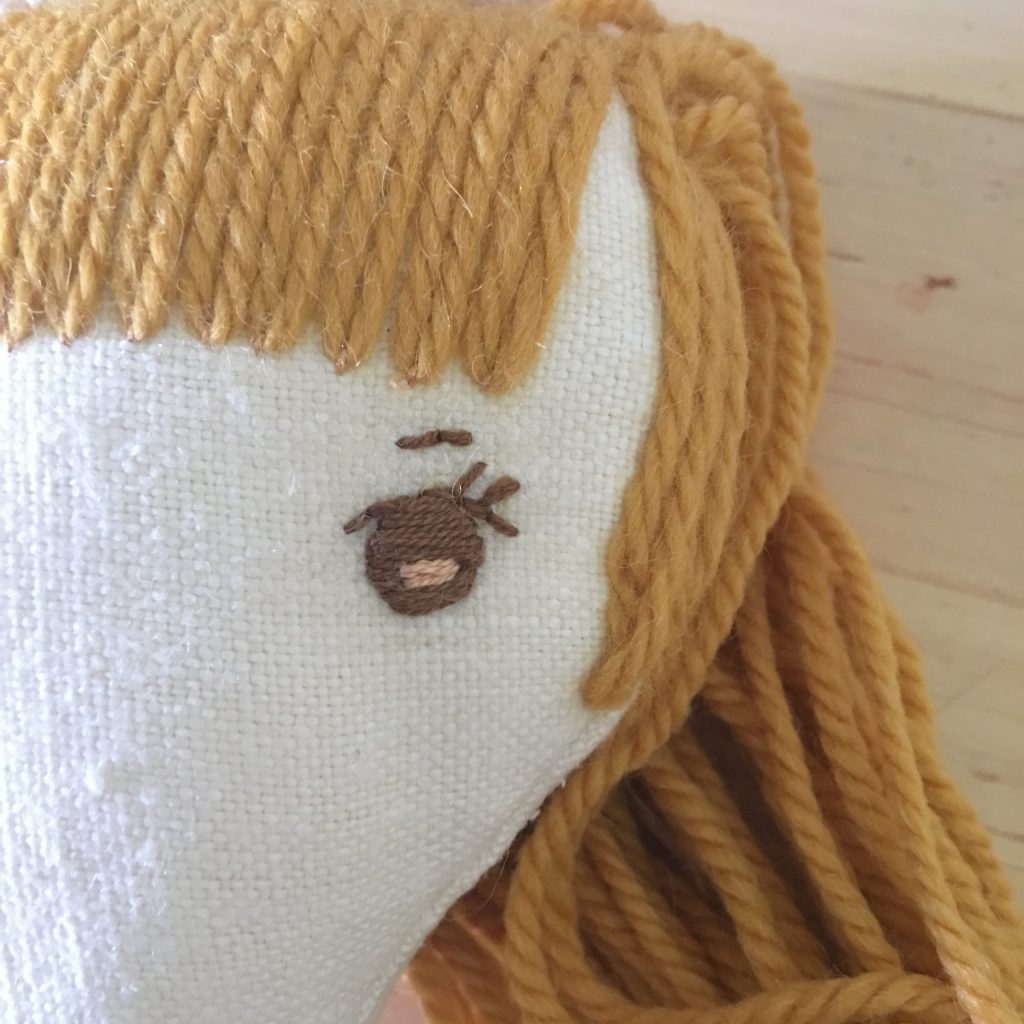
A quick run through of embroidering the face on a cloth doll… I embroider my dolls’ faces after I’ve stuffed the bodies and sewn down the yarn hair. I prefer placing the features after everything else is in place. I use pins to mark spots for eyes and nose, using a tape measure to center on the face. Then I draw the features with a water soluable marker. I use 3 strands of embroidery floss to embroider the features. I outline the eye with a running stitch and then fill in with a satin stitch. Then I embroider the eyelashes, eyebrows, nose and mouth with a running stitch. I knot my floss and bring needle in from back of head, hiding the knots in the yarn hair. Make sure not to pull embroidery too taught or it will pucker the face. After I’ve finishing embroidering I spritz with water and dab with a paper towel to remove the blue ink still showing. Ok, I think that’s it!

Is the initial make-along doll pattern (for the doll itself) a pdf? Thanks!
yes, it’s a PDF
Thank you for this! I’ve made my doll, finished her hair, and keep reading and re-reading the directions for embroidering the face but I was afraid to start… These photos are so helpful!
I’ve been making these dolls for a couple of years now for my daughters and friends, but the face is always the hardest part for me, and this is nice!
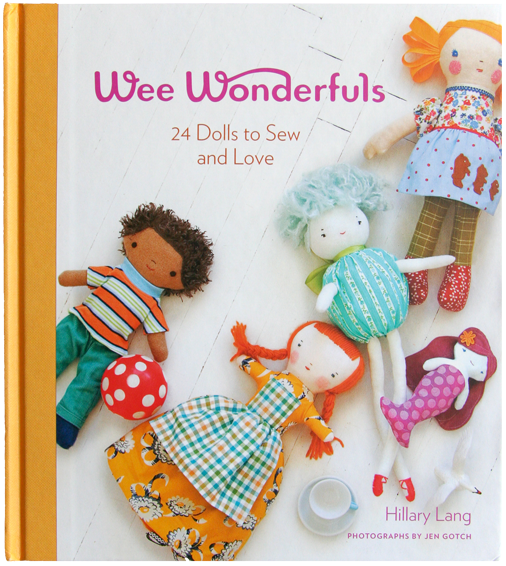
I like it very much . I woulld love to have a pattern .
Leonorclara@icloud.com . Thank you
Thank you for this! I made it work recently but this helps clarify some things for me. How do you tie off the floss after you finish the eye and brows?
I have made about 10 of these dolls for granddaughters and Friends. I always embroider the face before I put the doll together. That way if I don’t like the way it turns out all I would have to do is cut another face piece and start over. So far I have never had to do that but I just find it easier for me this way.
Why does the embroidery eye have to be wet ?
Why does the embroidery eye has to be sprayed with water ?
She used a water soluble marker to draw the eye so after she embroidered it she sprayed it with water to make the drawing go away.
[…] how to embroider an eye […]
https://roblox.country/chusugkati gaetode lucind a30b5ac58e
Great tutorial, thank you. I was embroidering the face before I sewed and stuffed my dolls.